
I bought a Seiko LM 5606-8090 on Ebay with the description “not working”. Watch is from the 70s. Lets see if we can get this going again.
Let’s open her up
It doesn’t start well. The self-winding rotor is not rotating smoothly. It grinding when trying to rotate it. It is also covered with some green had stuff. This green stuff has also eaten into the metal. Must consist of som acid. Could it be cola or similar?
Even if i clean of the green stuff it leaves lots of corroded dimples. Does not look nice, will have to order a new (old) rotor.


The movement
I had to order a main spring and a ‘day-date corrector wheel rocking lever’ as the latter was broken. Also some more storage boxes for watch parts.
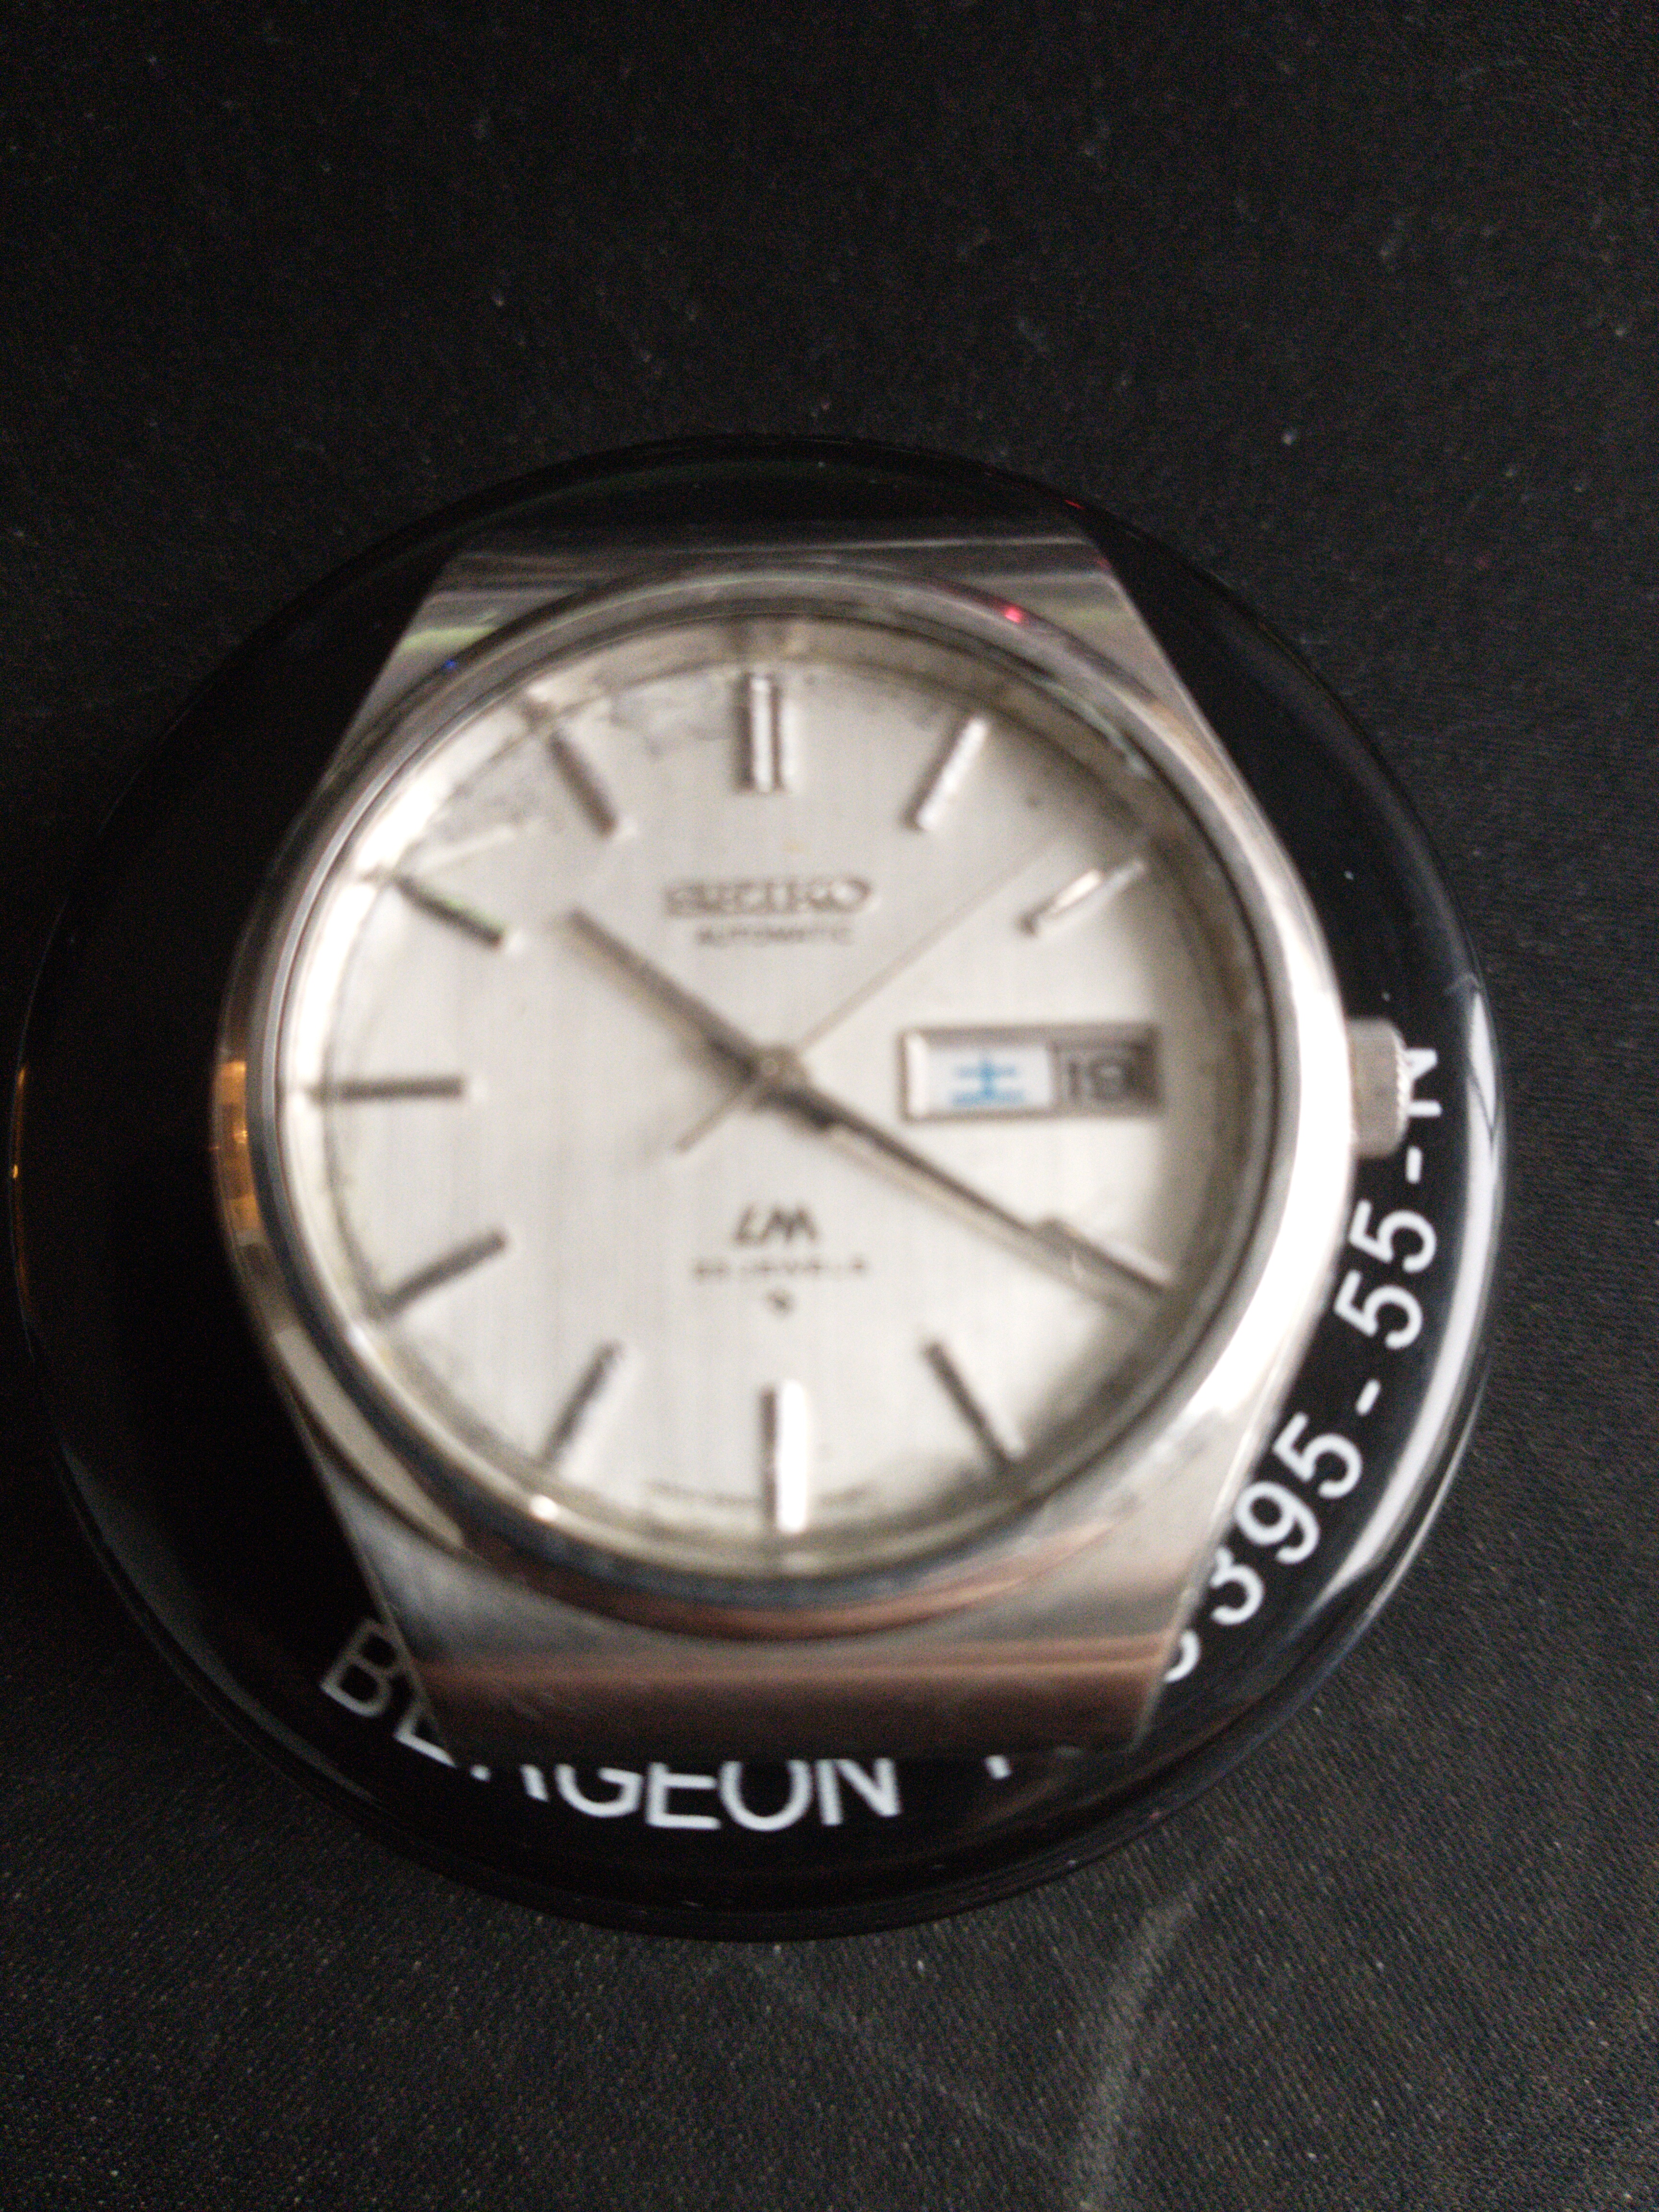
Time to take the movement out of the case. The dial has some marking around the edges. I’ll keep the dial, think it part of the watch’s history.
Removing dial and day wheel. Note that the day wheel has 2 languages, English and Japanese, so you can choose witch to


To remove the date wheel some plates must be removed first. The teeth of the date wheel are covered by plates in some places. This so that it is secured if or when you hold the watch upside down.
Two plates had to be removed. If you are interested in their names: “Date dial guard” and “Day jumper”.
Here I have already removed the “Day jumper” and unscrewing “Date dial guard”


Main bridge
Now the main bridge is nearly stripped. Looks like some rust on crown wheel. Have to look at that. Will remove the transmission bridge first.
There is oil every where! Wow, soaking in it.

Here is the transmission bridge on the other side.

Look at all that oil! And dirt…

Doing pre-cleaning on the transmission bridge and pegging the jewel with peg wood.

Here is two close ups on the two diafixes, on the main bridge.
Pictures are taken on a mobile phone and I put a 5x and a 10x loupe on the camera. Not the best but is has to do for now as I have no macro camera.
Have to take the capstones out and clean them. Opening diafixes can be a bit fiddly. If you are not doing it the correct way, the diafix and capstone might do a Seiko space jump!


Cleaning the jewels, they must be spot free. If they are not and when oiling, the oil will not stay in the middle of the cap jewel by surface tension. It will float out.

First cap jewel and diaFix spring went in without any problem. But the second one became a problem. The diaFix would not go in. Don’t know if you can see in photo below, there is a tiny groove in the diaFix holder. Where the diaFix should sit. I believe that ridge is damaged so the diaFix will not sit properly in the groove.


This could be fixed by finding a new diaFix holder and putting it in, but I do not own a jeweling tool. Horia and Seitz are very expensive, even used ones.
So I ordered a new transmission bridge instead, was only 10 euros.
The balance
After cleaning the balance I put it back on the main plate to check if the spring is flat. It was not! Again the photo is done from my mobile + a 10x loupe on top of camera, so not picture perfect.

It is hard to see but the spring is tilted. When flipping the main plate over, see and behold, the cap jewel and it’s diashock spring is missing.

Instead of order one jewel and one diashock spring, I found a main plate from a 5605A instead on Ebay, it was cheaper. Just 10 euros including shipping from Netherlands.
5605A has the same cap jewel and diashock spring part numers as 5606A.
New parts
Parts have arrived so lets continue!
Start with replacing old main spring. I haven’t got a main spring winder so I can’t clean the old spring and re insert. Easier to put in a new one.


Spring barrel and train wheel bridge is added.

Now time for pallet fork and balance. Will she start?
Unfortunately I am not allowed to upload videos on this account type. Must pay more to do that. So I’ll just show a picture from the video instead.

Yes she runs!
Next it’s time to check show she runs and adjust. More to come soon….

Well it’s not that good. It may be some thing with the balance, let’s take a closer look.

Here you can see the harspring and it is not flat, and it was not evenly spaced either. I took the hairspring off the balance cock and fiddled with it for many hours. I did not manage to get it completely right. Count not get it to not touch the two pins that adjust the rate. The spring was just too way off in its curve. Looks like some one already tried to adjust it and messed up the most outer curve. Got fed up with it and ordered a new complete balance instead.
After 2 weeks the new balance complete arrived. Guess what, it does not fit correctly to the balance cock. The outer most curve (the end where the stud is) is way too tight to sit between the two adjustment pins. And the stud is not positioned parallell to hairspring. If I set the stud in stud holder, hairspring is not flat.
I will not even try to remove the stud from hairspring and re-set it as I have no microscope. No way I’ll be able to see if I’m setting the stud back parallell again.
And If I where to adjust (expand) the outer curve so it fits between the adjustment pins, the stud will be too short to be able to sit in stud holder. Then I have to adjust the last bend at the stud and try to make bend more flat, witch in turn will angle the stud so it is not at correct angle for stud holder.

Maybe this balance complete was made in China. A Seiko NOS balance complete, should fit properly. Ok. sigh! I’ll order another one from another seller. This time it was an original Seiko balance complete from an old watch maker who cleaned out his old stock.
Another two weeks has passed and my balance complete is here!
But exactly same problem again! This is weird!
I have the correct part nummer, double checked. Could it be that the balance cock is not the correct one? Has some one changed it with wrong part? The watch did not run when I bought it, so who knows…
Well a balance cock was only 6 euro, so I ordered one. It will be interesting to compare the new one with the old one. Package will arrive in 1-2 weeks time.
Leave a Reply